Watt's Up Musings of an original geek

October 8, 2007

Car Construction 5

Filed under: Uncategorized — admin @ 3:56 am

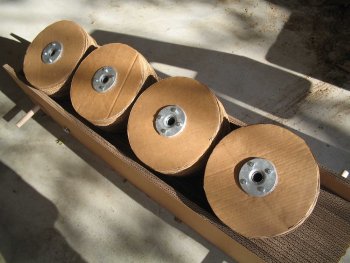
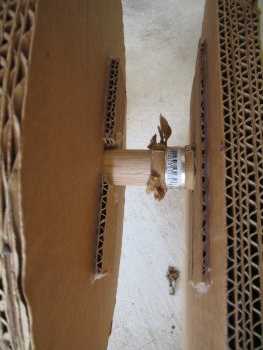
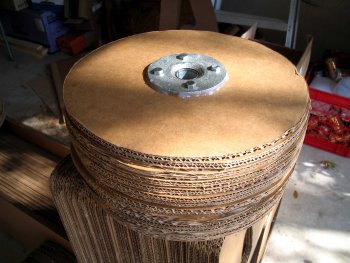
October 6: I’ve been building the wheel mounts. I’ve been puzzling about what to do all week. I went over to Home Depot to look around. I was considering (1) using a pipe flange, and (2) using a thick cardboard tube or sleeve. After talking to a great plumbing sales person there I got four 1″x6″ pipes (he called them nipples) and four 1″ flanges. When I got home I inserted a pipe/flange combo into each wheel. Then slide the pipe over the oak dowel and I’ve drilled hole in the non-flange end to bolt to the oak axle. I’ll tell you more tomorrow once I’ve attached them to the axles.

Car Construction 4

Filed under: Uncategorized — admin @ 3:51 am

September 30: Engineering problem 1 (band slippage) I think is solved. I added a curved metal strip across all the bands.

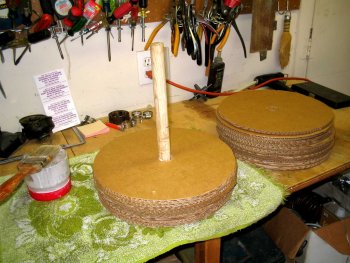
I’m in the process of solving engineering problem 2 (wheel fragility and mount) – I’m making slicks for the tires. I spent a few hours today cutting out more wheel discs and gluing them. I think I actually made the slicks too thick, but I can always cut them down making them thinner. I still have yet so solve how I’m going to attach them to the axles, but I think this is a start in the right direction.
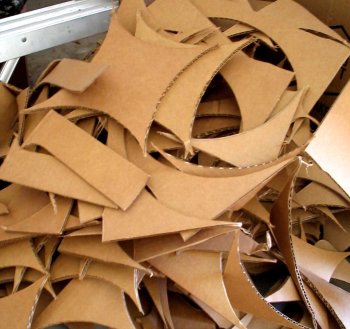
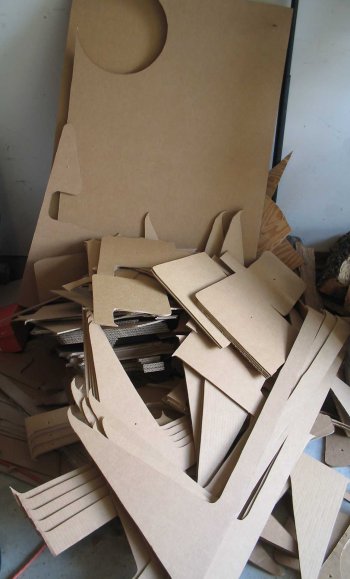
BTW, I had to get another gallon of Elmers glue. Also I’ve just about burned through all my cardboard making the wheel discs. Now I have a nice big pile of scrap.

Car Construction 3

Filed under: Uncategorized — admin @ 3:34 am

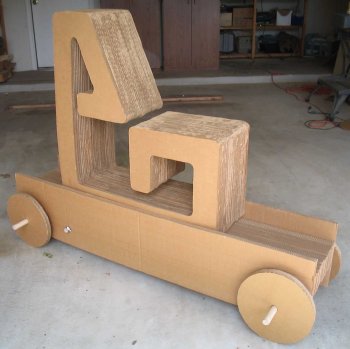
September 29: I completed the car’s final assembly. The results of which are: Car serial number #2 rolled off the assembly line.

To accomplish this I sanded down the chair back and seat with a rough circular disk to make it more comfortable.
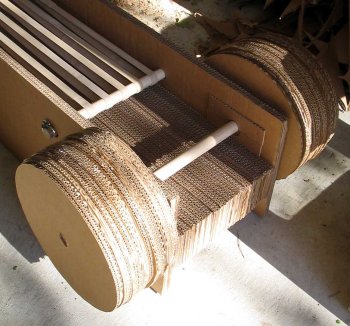
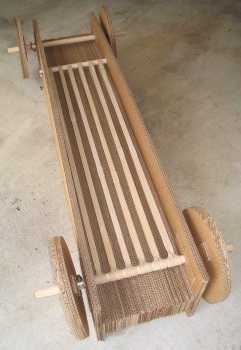
Second, I had to sand down my 1″ dowels so that they would fit into the 1″ inside diameter bearing. That took a while since they were oak. Next I mounted the front dowel, bearing with filler ring, bearing mounts, and rubber bands onto the chassis. I did this vertically so the bands hung down. Then I cut the “rubber band brace” down shorter so that it extended only 1/2″ beyond the width of the body. Next I looped all of the bands around the runner band brace. Finally I tightened pipe clamps to each end of the runner band brace.
I want to allow the wheels to be removed (possibly for transport or to access/remove the bearing or rubber bands) so I added two double-thickness cardboard tabbed flange pieces to each wheel. I used hot-melt gun to attached these tabs to the wheel. Then I used a pipe clamp to attached the tabbed wheel to the axle.
So the car is done, and I tried it out… At this time I have the following “engineering problems” to solve.

  1. The rubber bands slip on the rear axle. I’m considering (1) adding six small 1/4″ diameter dowels, probably 1″ long) and then looping each rubber band on one of them. However, the torque on this dowel pin might either damage the band or pop out of the axle. Another idea would be (2) six small rectangular slots in the axle, one for each band. How I’d cut these would be a puzzle (maybe with my router from each side). A 1/4″ dowel would restrict the bands from pulling back through. That would definitely work, but would the axle now be too weak.
  2. The wheels and my mounting system is a total failure. The wheels wobbed. Also the torque on the two double-thickness cardboard tabbed flange pieces caused them to rip. I think the wheels are too thin and should be made much thicker (back to the cardboard saw and the Elmers glue gallon jug). I might have to glue the wheels to the axle, but I would like to still allow them to be removed.

Car Construction 2

Filed under: Uncategorized — admin @ 3:27 am

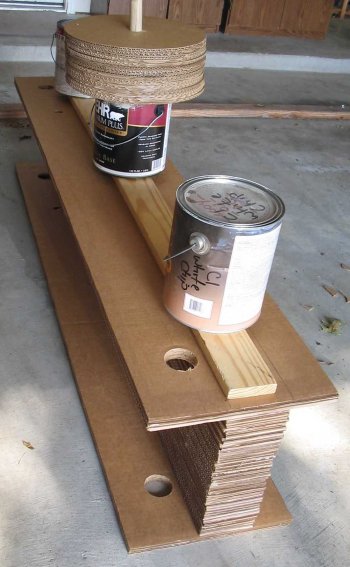
September 23: Gluing is underway. I’m using a 2″ paint brush to apply the glue liberally and then weights or clamps to hold the pieces together. I am doing all this work in my garage. I’ve used up 1/3 gallon of glue so far and I have yet to start the chair. All other pieces are glued together though.

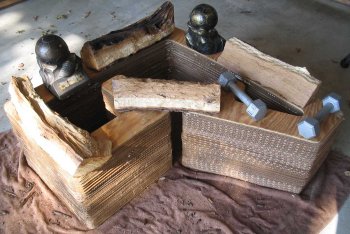
After completing the chair I now have only 1″ remaining in the glue gallon. Whoa! The chair just ate up the glue. I got to say that gluing the 50-60 chair pieces was not a lot of fun. Now I know why I don’t do a manufacturing job. The repetitive nature was getting to me during the last 8 pieces. I grabbed anything that would weigh the chair down. Since Matthew has moved in with us we have stored some of his stuff in the garage, for example, some old soccer trophies and barbells.

Car Construction 1

Filed under: Uncategorized — admin @ 2:54 am

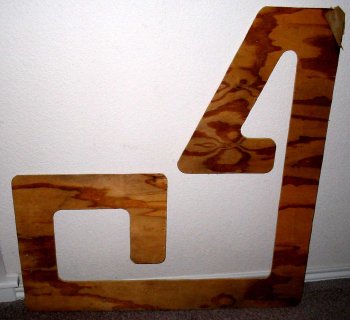
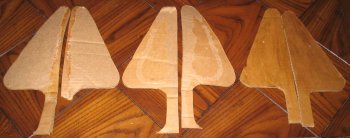
From September 17-22: I went out and bought cardboard to construct a big (human rideable) amazing rubber band car. There is a nearby company named Eco Box that sells cardboard in double thickness 4’x8′ sheets. I bought 10 sheets, then we strapped them my car roof with Kathy’s help, and drove them home. The next night I created a plywood template of the chair.

Meanwhile Mike sent me and I received twelve gigantic rubber bands and four 1″ roller bearings. A few days later I laid out the car pieces and I used the template to layout the chair.
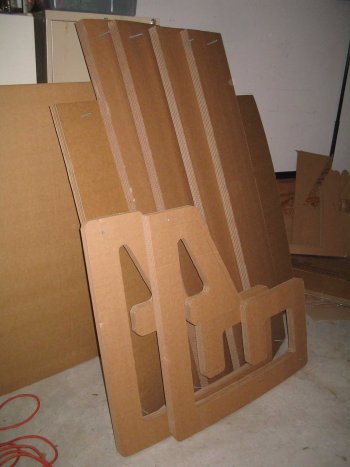
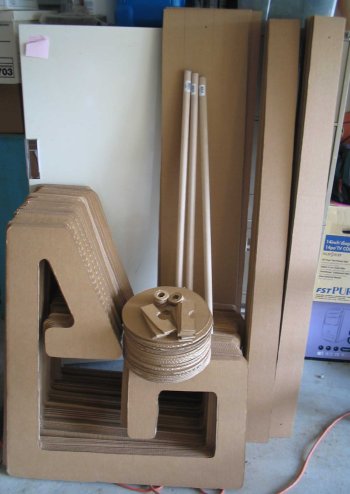
I had underestimated the amount of cardboard. So I went back and got twelve single thickness 36″x48″. This gives me about 84 chair pieces (30 double thickness and 24 single thickness). Also it just so happens that the single thickness flutes go the other direction from all my double thickness ones. So I plan on interleaving them for strength. Next I cut the cardboard using a reciprocating saber saw and a knife blade. The jigsaw with the knife blade has been my tool of choice. I can power cut 5 double or 6 single sheets at one time. Also I’m using 16d nails to hold the 5 or 6 sheets together and keep them somewhat aligned. I have also used a hole saw for the bearing filler rings (aka washers) and the holes in the wheels. I cut 5 double thickness sheets at a time to create all of the frame/floor pieces (12″ x 5′) and chair pieces using the chair template.
So the next step is to start gluing them together. Before I do I did a test with (1) Elmer’s white glue, (2) hot melt glue, and (3) contact cement. After letting them set up for about 90 minutes I asked Kathy to try to tear them apart. She was easily able to separate the contact cement – that was the worst in her opinion. The next two were tougher, because they were about the same, but she felt that the size of the connecting surface area was larger for Elmer’s white glue – so Elmer’s it is. Next I went out and a bought a gallon of Elmer’s glue in preparation for these efforts. Oh, I also got three oak 1″x36″ dowel rods for axles.
When done I had a pile of scrap cardboard.

September 24, 2007

Amazing Rubber Band Cars

Filed under: Uncategorized — admin @ 1:41 am

Kathy’s college roommate’s, Annelle’s, husband, Mike, has published a book: Amazing Rubber Band Cars.

During the past week I’ve been building one of the cars – a big one. More information to follow when time permits.

September 23, 2007

6085: Black Monarch’s Castle

Filed under: Uncategorized — admin @ 1:53 am

I sorted, and inventoried the 6085 Black Monarch’s Castle.


Image courtesy of brickset.com
Thanks to peeron.com for the inventory list. I am missing a number of parts for this kit. So I have ordered a few of them to try out the Brick Link site and one of the vendor there named Pooh’s Corner.

September 21, 2007

Bought a Lego Mindstorm NXT

Filed under: Uncategorized — admin @ 2:36 am

Today finally I won the bid on a Lego Mindstorm NXT robotic system on eBay.

I’ve been trying to get one for the past few weeks, but have been over bid time and again.

September 17, 2007

MiniPOV3

Filed under: Uncategorized — admin @ 12:44 am

I week or so ago I bought a MiniPOV3 from Make magazine, Makezine. Yesterday I purchased a Weller WLC100 soldering iron, a Panavise Jr Model 201, a Z-TECH Helping Hands with Magnifier Model 53-003, some 60/40 rosin core solder and 5 ft. of .075 inch solder wick from Frys electronics.


MiniPOV3 circuit board in vise.
Today after doing some yard work, I put together my MiniPOV3 using the MiniPOV Instructables. I switched it on and it worked the first time. Neat. Next I downloaded the WinAVR development system. I attached the MinPOV3 to the serial port of my computer and reprogrammed it to say “I Love Kathy!”. Neat again. My plan is to learn more about the ATtiny2313V-10PU.

September 15, 2007

Weekend busys

Filed under: Uncategorized — admin @ 2:56 pm

Well I’m trying to keep myself busier on weekends.

I did my 7 mile morning run with my running class. I ran with a good crowd including Chris, Jay, Robert, Celeste, and Glenn. We chatted all the way which was nice. This class and my running continues until next February’s Austin Marathon. Wish me luck. I need it.

After arriving home I cleaned-up and then I added 1GB of RDRAM to my son Matthew’s old Dell Dimension 8100. I had purchased this memory on e-Bay last week. The memory was not cheap, but the machine is a 1.3 GHz Pentium 4 which is better than my old 800 MHz AMD Athlon that I had disk nuked a week or so ago. Next I installed Linux Fedora 7 on it, and I installed some work things (Cell Broadband Engine Software Development Kit) on it too. Now it’s ready to go and with the additional memory the machine is quite snappy so it was a worthwhile purchase.

I again continued to reduce Lego entropy. Earlier this week I sorted, and inventoried the 8854 Power Crane.
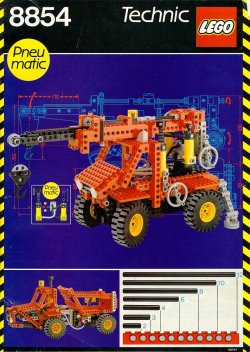

Image courtesy of brickset.com
Thanks to peeron.com for the inventory list. I printed out a copy of the inventory and cut it up it into strips contains a related group of parts. For each group I put the cut up strip into a snack-size baggie, found and counted the parts into the baggie, and put the now filled and sealed baggie into a larger gallon-size baggie. For this kit I am missing only three parts. Now the question is: where can I get them?

Then I sorted the hundreds of miscellaneous parts (non-blocks or plates) into groups and put them into baggies. I really need several containers with little divided sections.
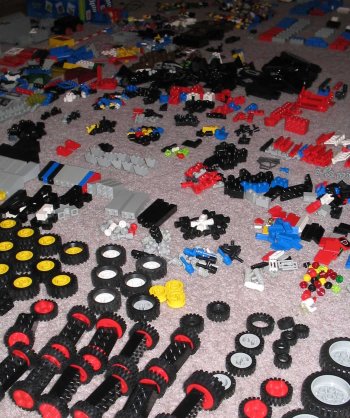

This might look messy and totally disorganized, but actually it isnt’t. Each bunch is a group of the same type of piece regardless of their color

Update: My friend Larry P. told me that you can get Lego blocks from bricklink.com. The site says “BrickLink.com is a premium venue for individuals and businesses from all around the world to buy and sell new, used and vintage LEGO® through fixed price and auction services.”
« Newer PostsOlder Posts »

Powered by WordPress