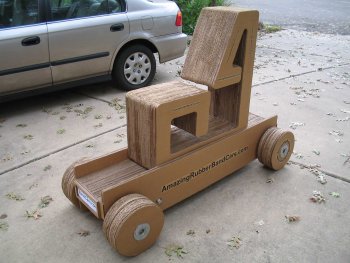
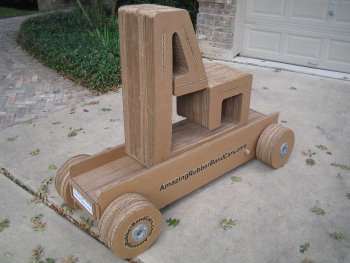
October 7: WOOHOO! The band clamp and wheels work.
Next I completed the signage the car, chair and rear wheels. I used brown paper to match with the overall color scheme. I put it through my printer without incident. Also I added flat “bumpers” to the front and rear to finish the ends. On the bumpers I added paper license plate holder and license plate.


Update: Engineering Change 4: (wraparound drum) To provide more thrust the rubberbands should wrap around a 3″ to 4″ diameter drum instead of around the 1″ axle. Then the drum should be attached to the axle [how to do this is left as an exercise for the “student”]. Using a drum might also make Engineering Change 3 (one-way ratchet mechanism) easier to do.
Engineering Change 5: (seat pins) Since the seat is removal sometimes when pushing the seat to move the car back to wind it up the seat begins to rock backwards. So the car sides should have a way to pin the seat into the sides – maybe just two nails or a 1/4″ dowel.
Thanks dad, your video made me laugh…miss you and I will see you in 4.5 weeks…ohh and congratulations on finishing a cardboard construction…it can be tedious at times, but the end result usually can be very satisfying 🙂
Comment by Katie — October 9, 2007 @ 1:29 pm
dad you should of said ‘wheeeee’ as you went done the incline on the drive way 🙂
Comment by Katie — October 9, 2007 @ 8:53 pm